Scan a Document on iPhone
This is the best way to scan a document on an iPhone!
Scanning
1) First get your document ready to scan by placing it on a flat, uncluttered surface.
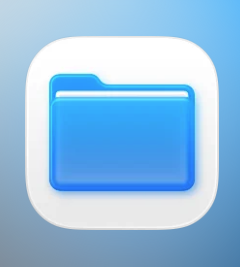
2) Open the Files app on your phone. It’s a standard Apple app, but you may need to go to your search screen (the furthest right of your home screens) to find it. You can also just bring up Siri and ask it to “open the Files app” and it should open up. The icon is a blue file folder like this one shown.
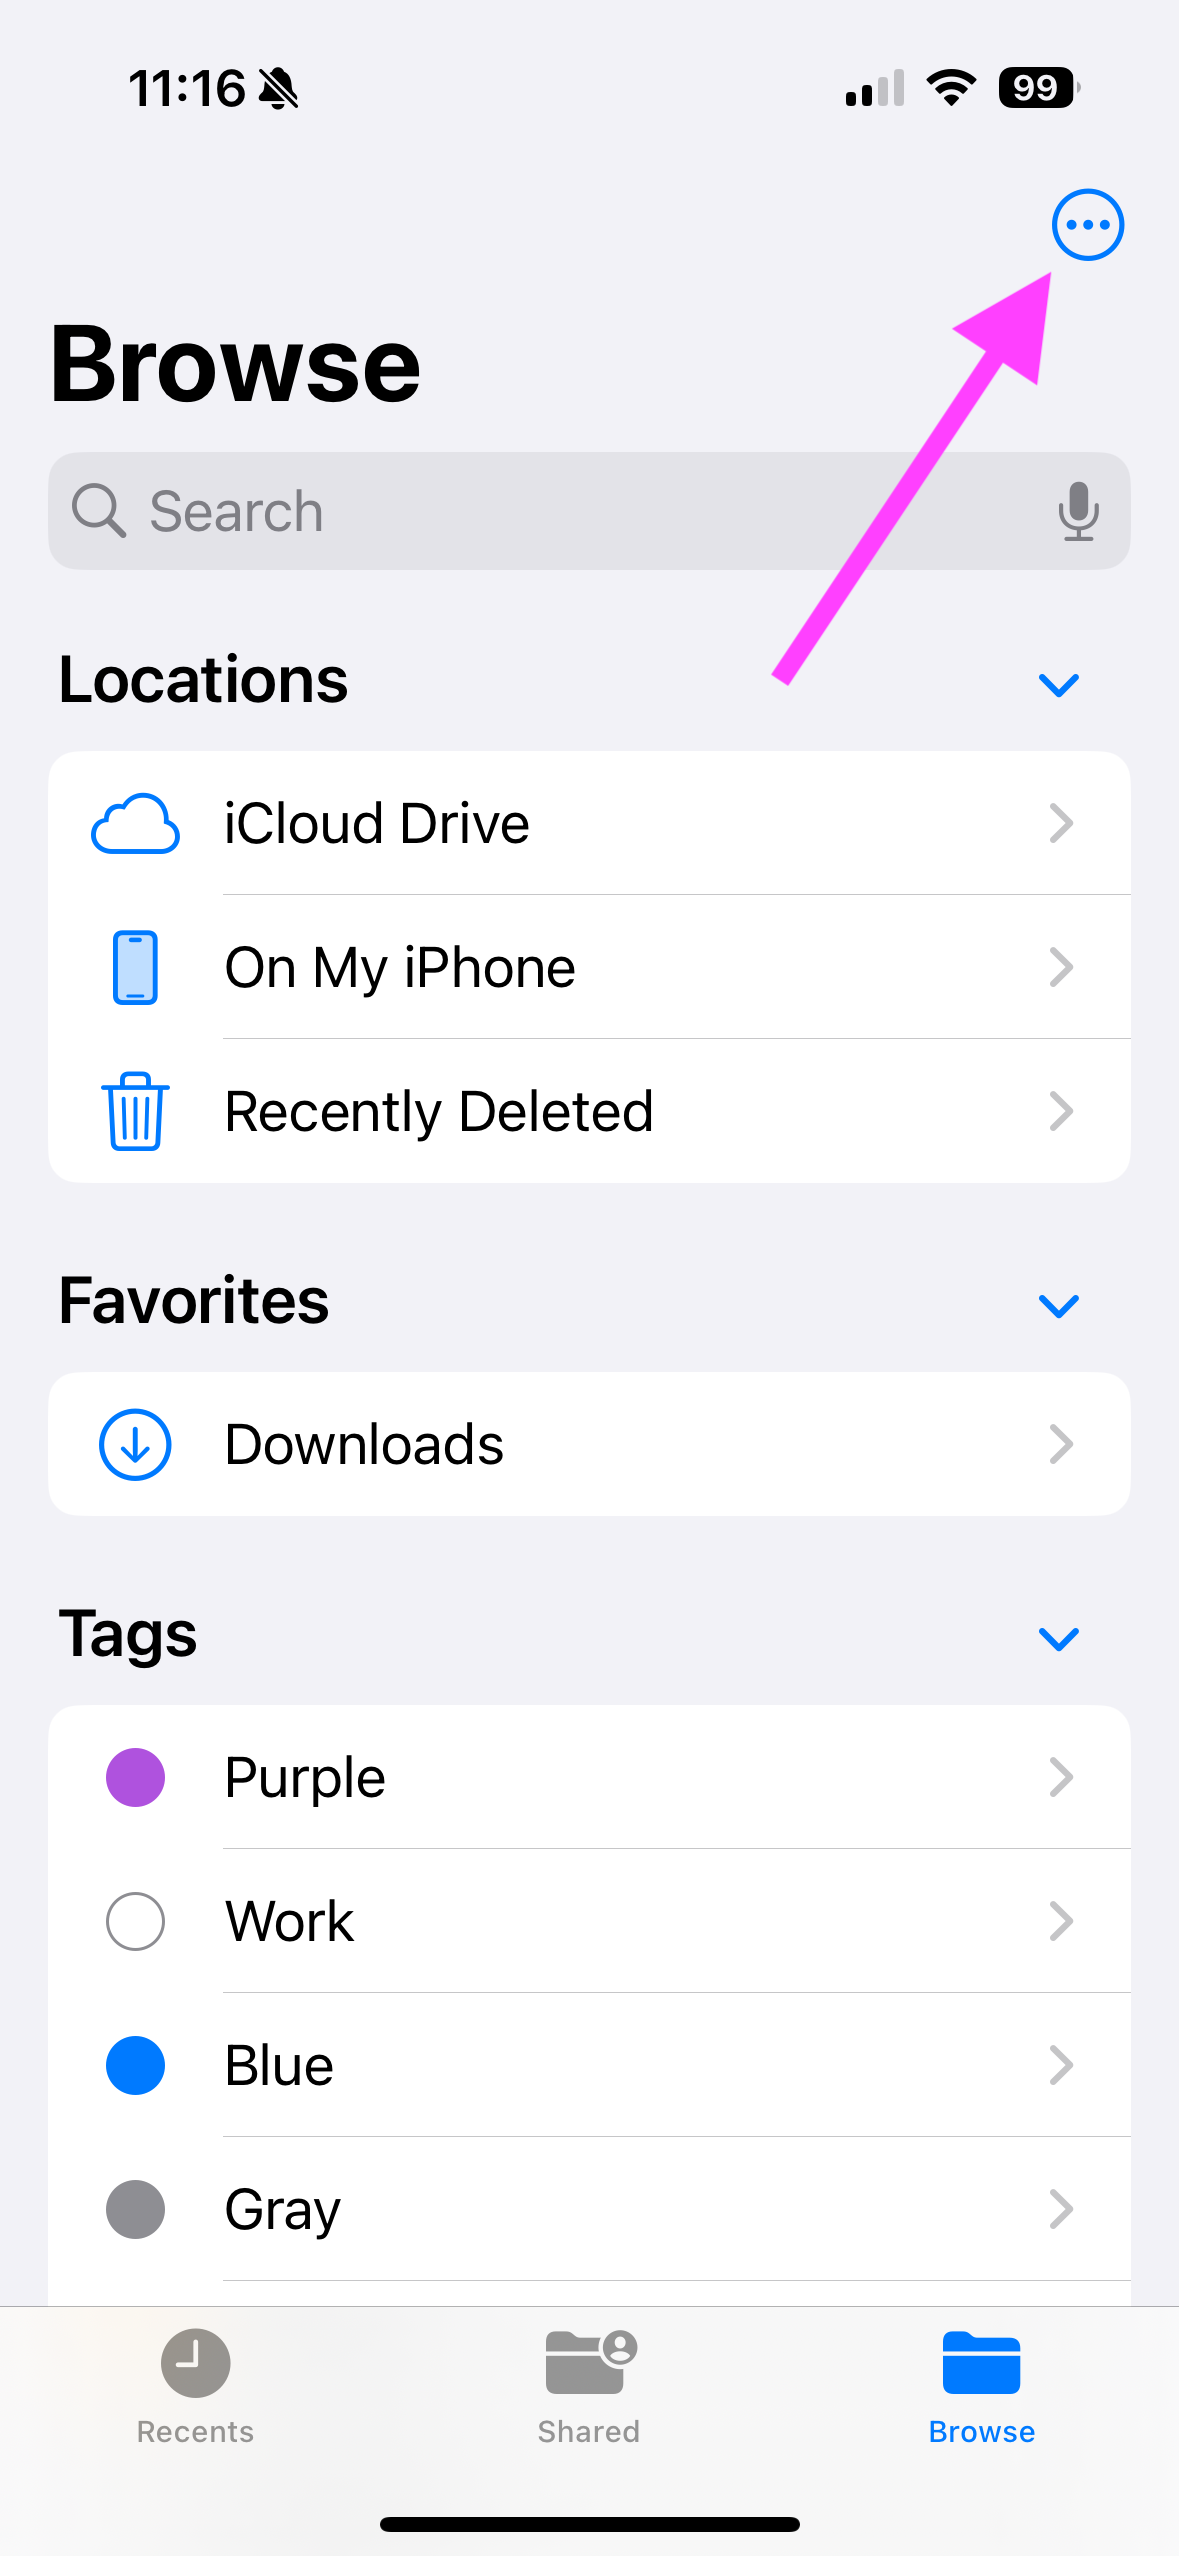
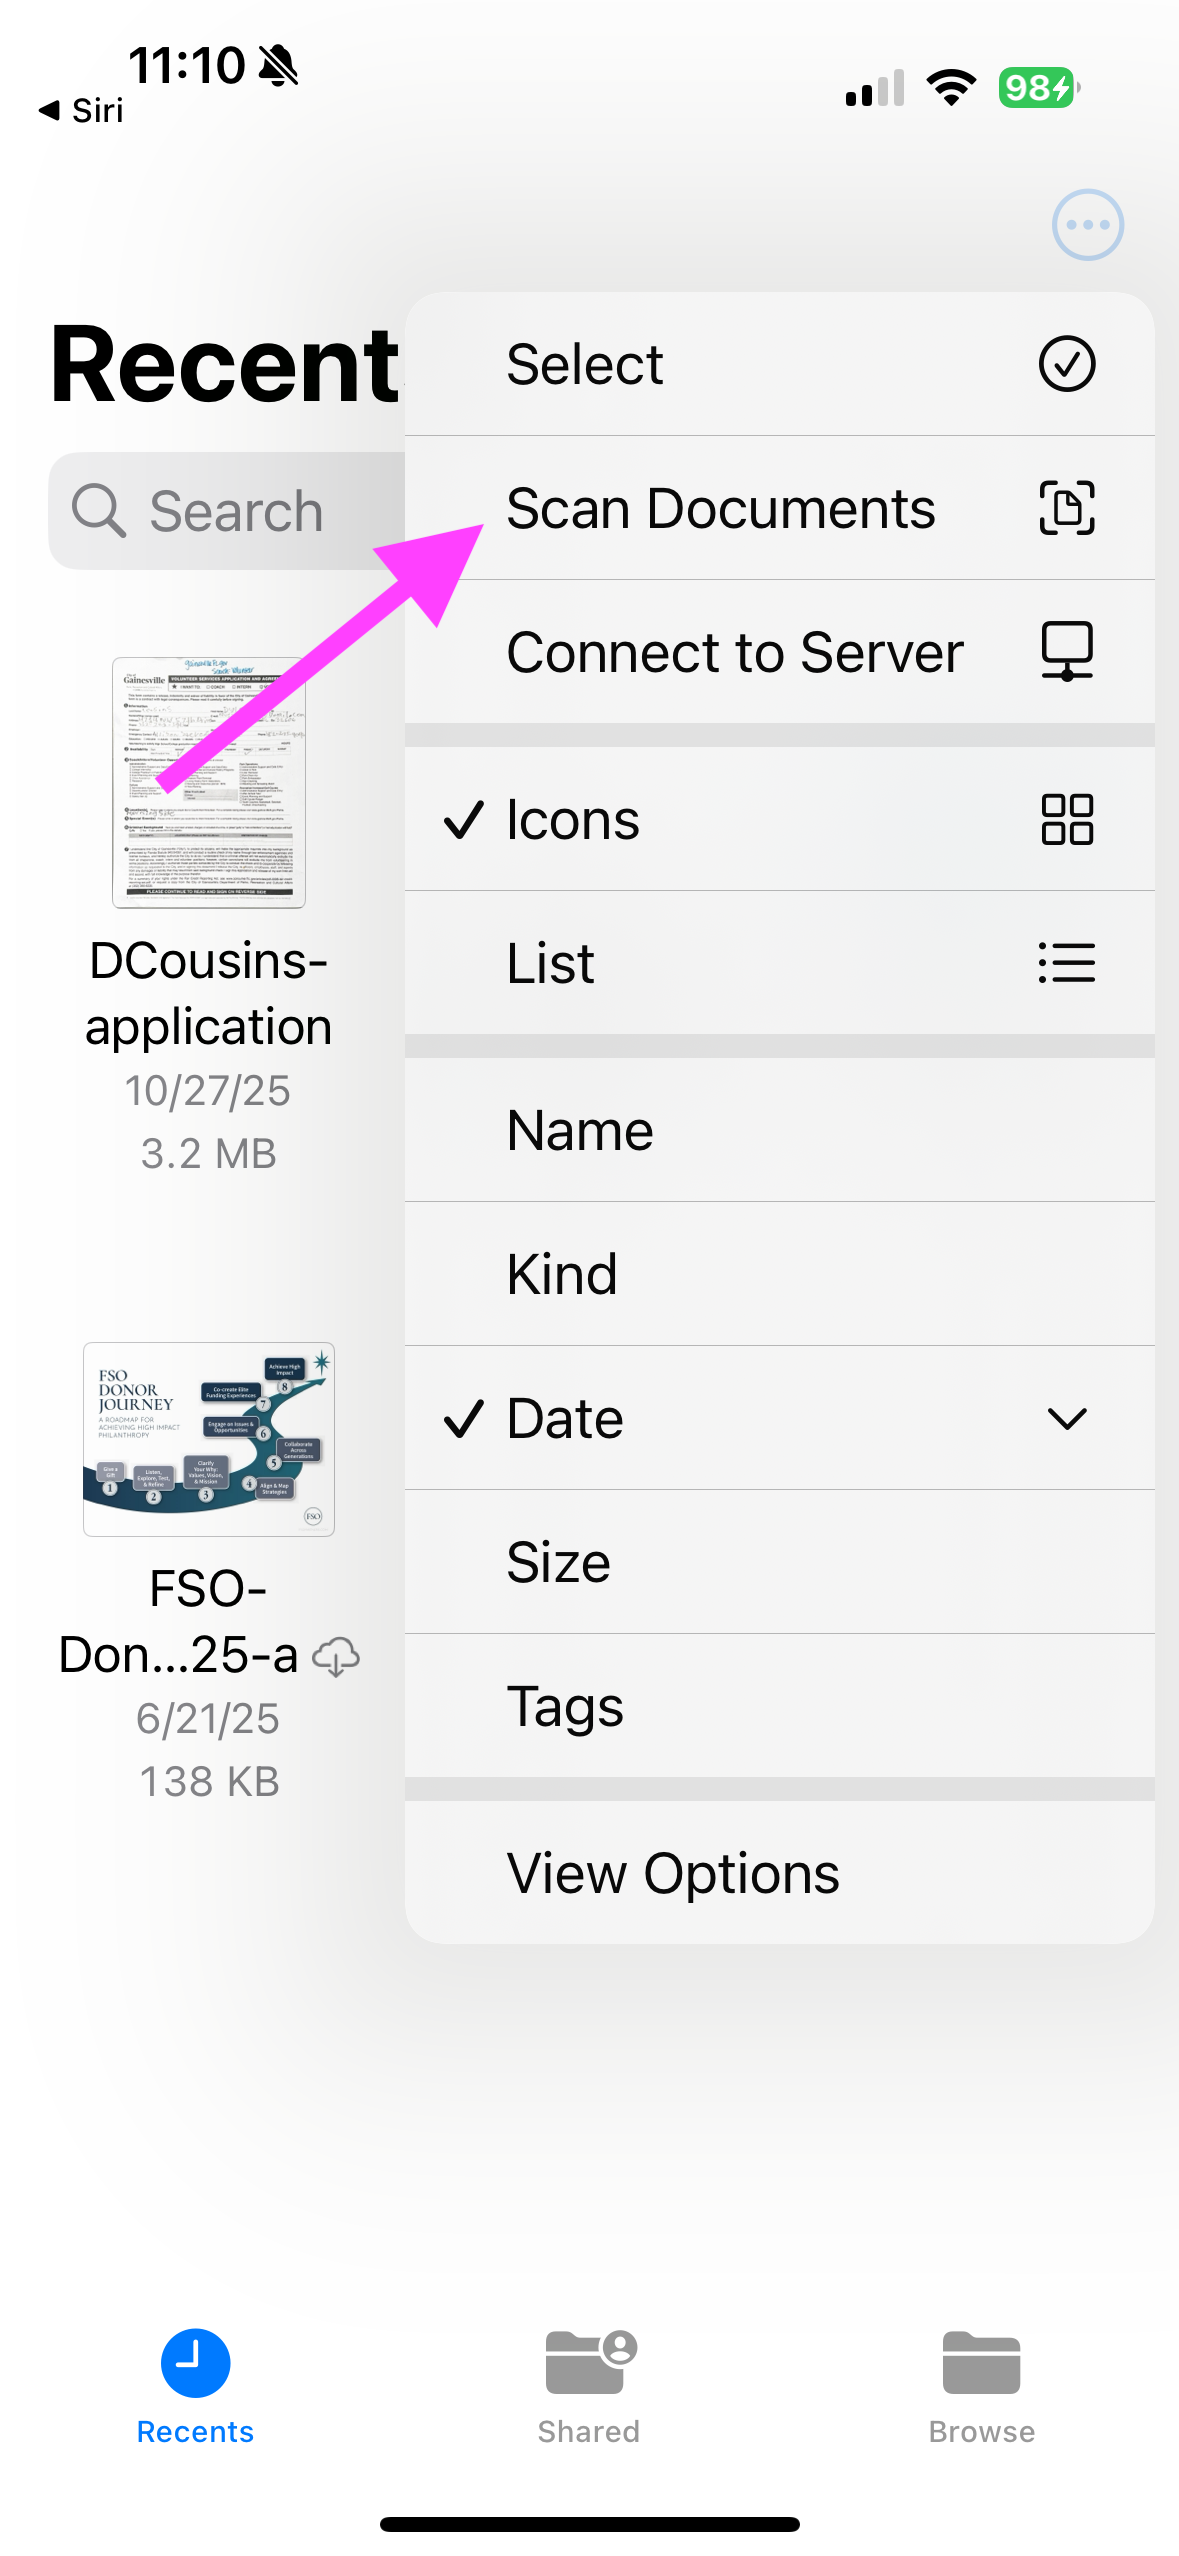
3) The first screen should look something like this. To start tap the three dots in the top right corner. And select Scan Documents from the dropdown.
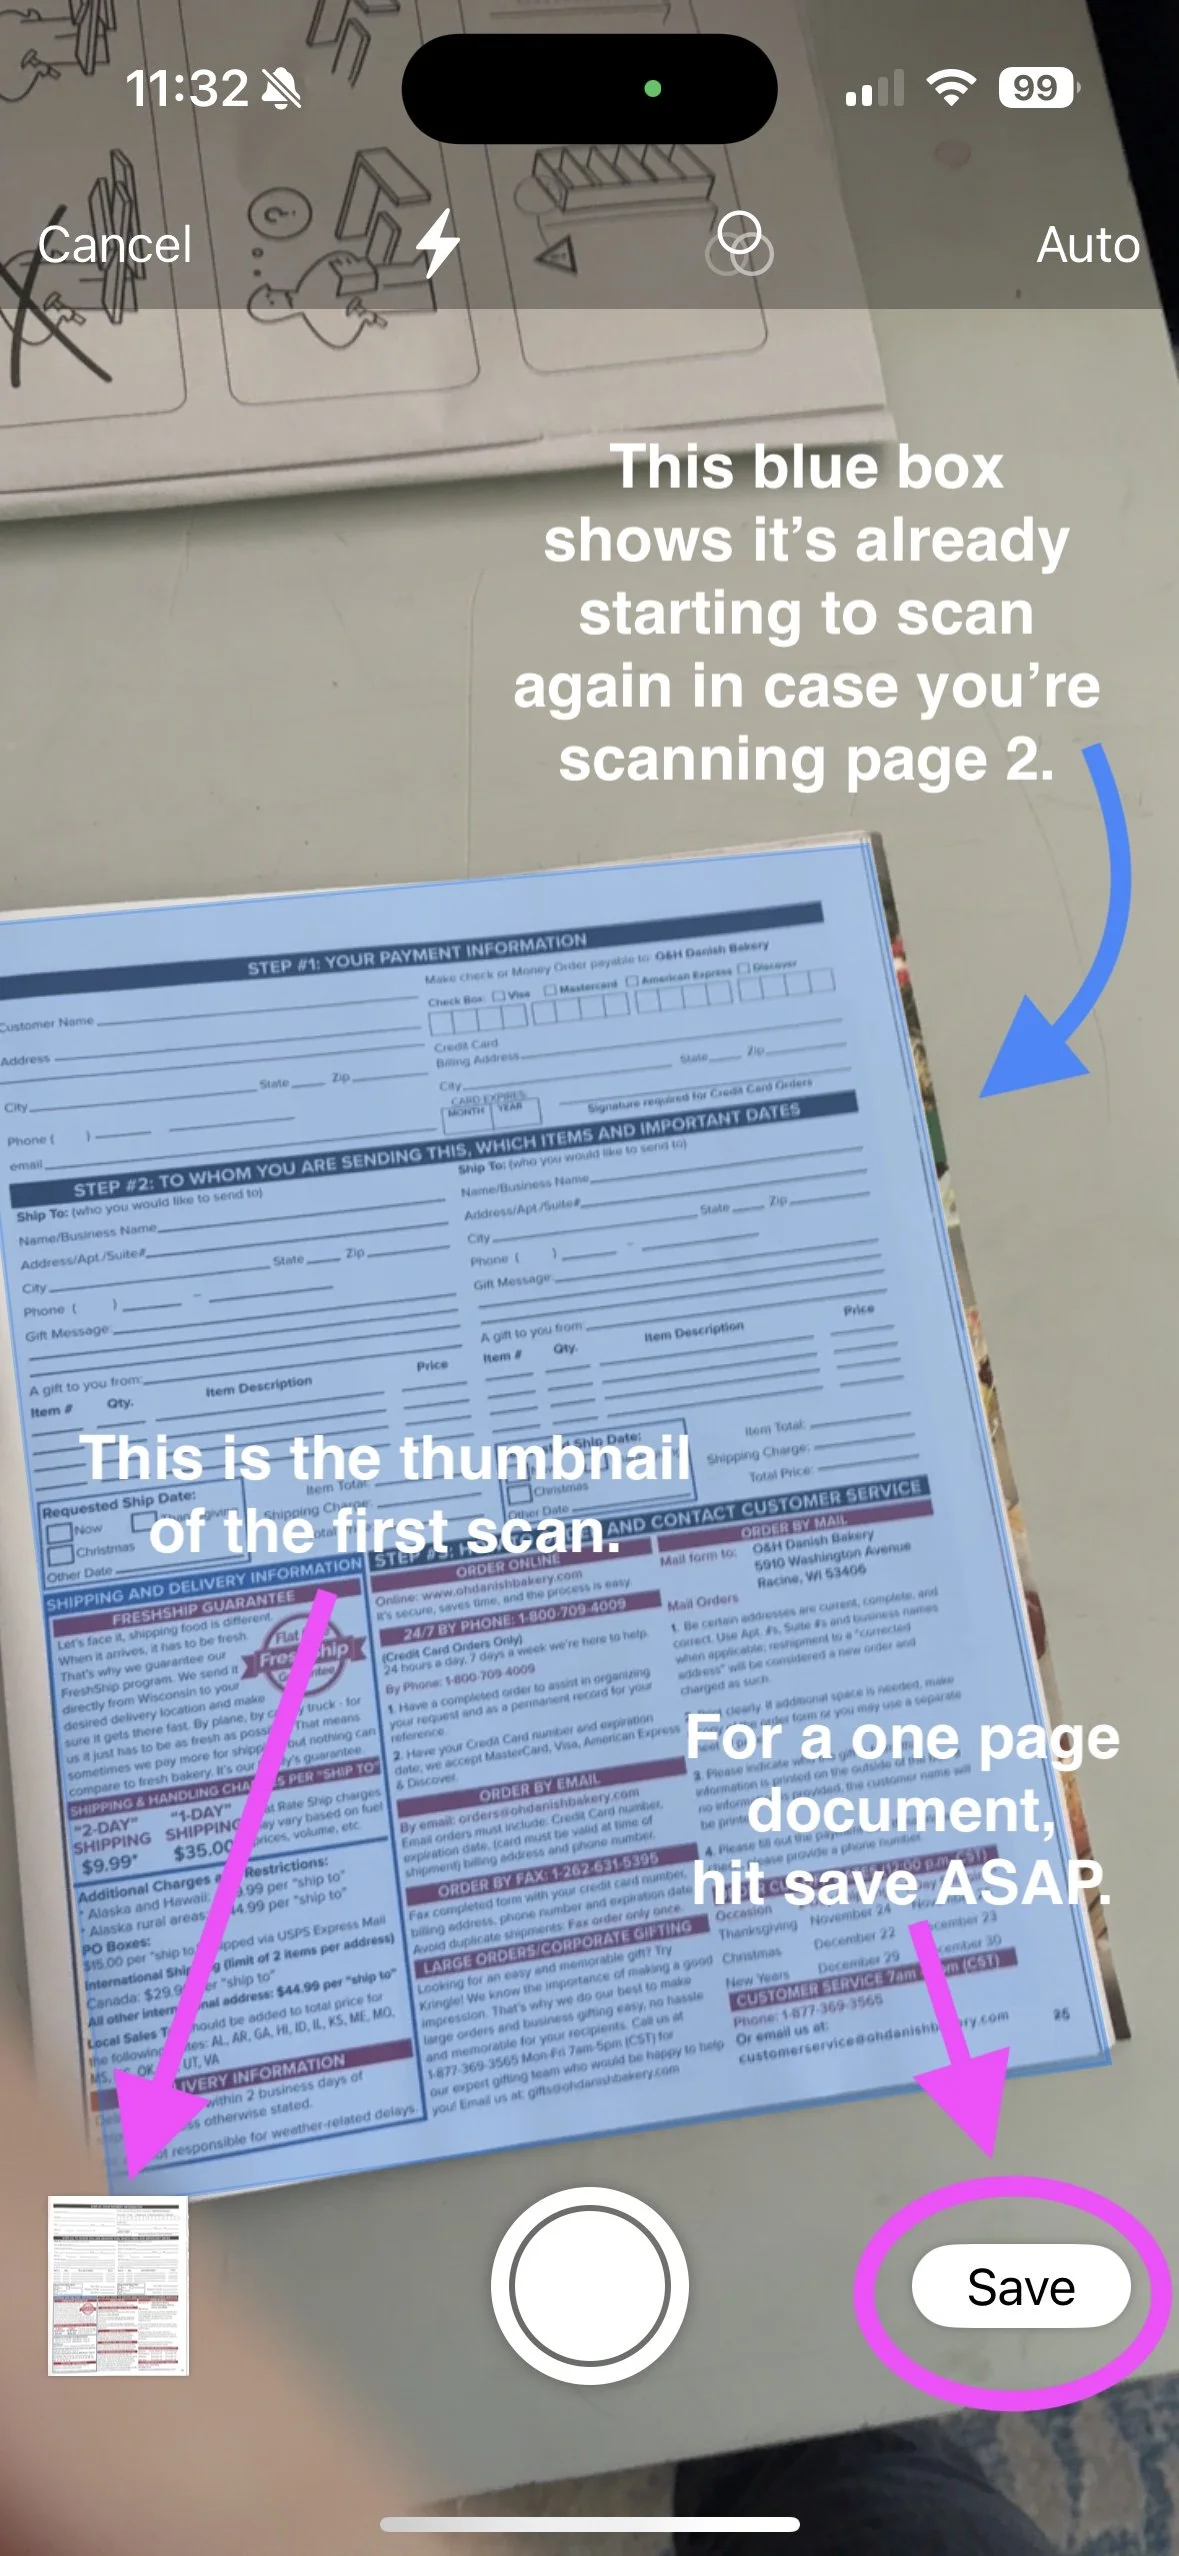
4) It will open up a screen that looks like your camera. Hold the phone above your document until a blue box appears when it’s detected the edges of the document.
You have to act quickly because the scanning process is pretty fast. If it’s a one page document, once it captures it, you’ll see a small thumbnail version of the document in the bottom left of the screen. Immediately move the phone away a little bit or it will try to keep scanning, thinking you’re doing a multi-page document. Once you’ve moved off the document, click save in the bottom right ASAP.

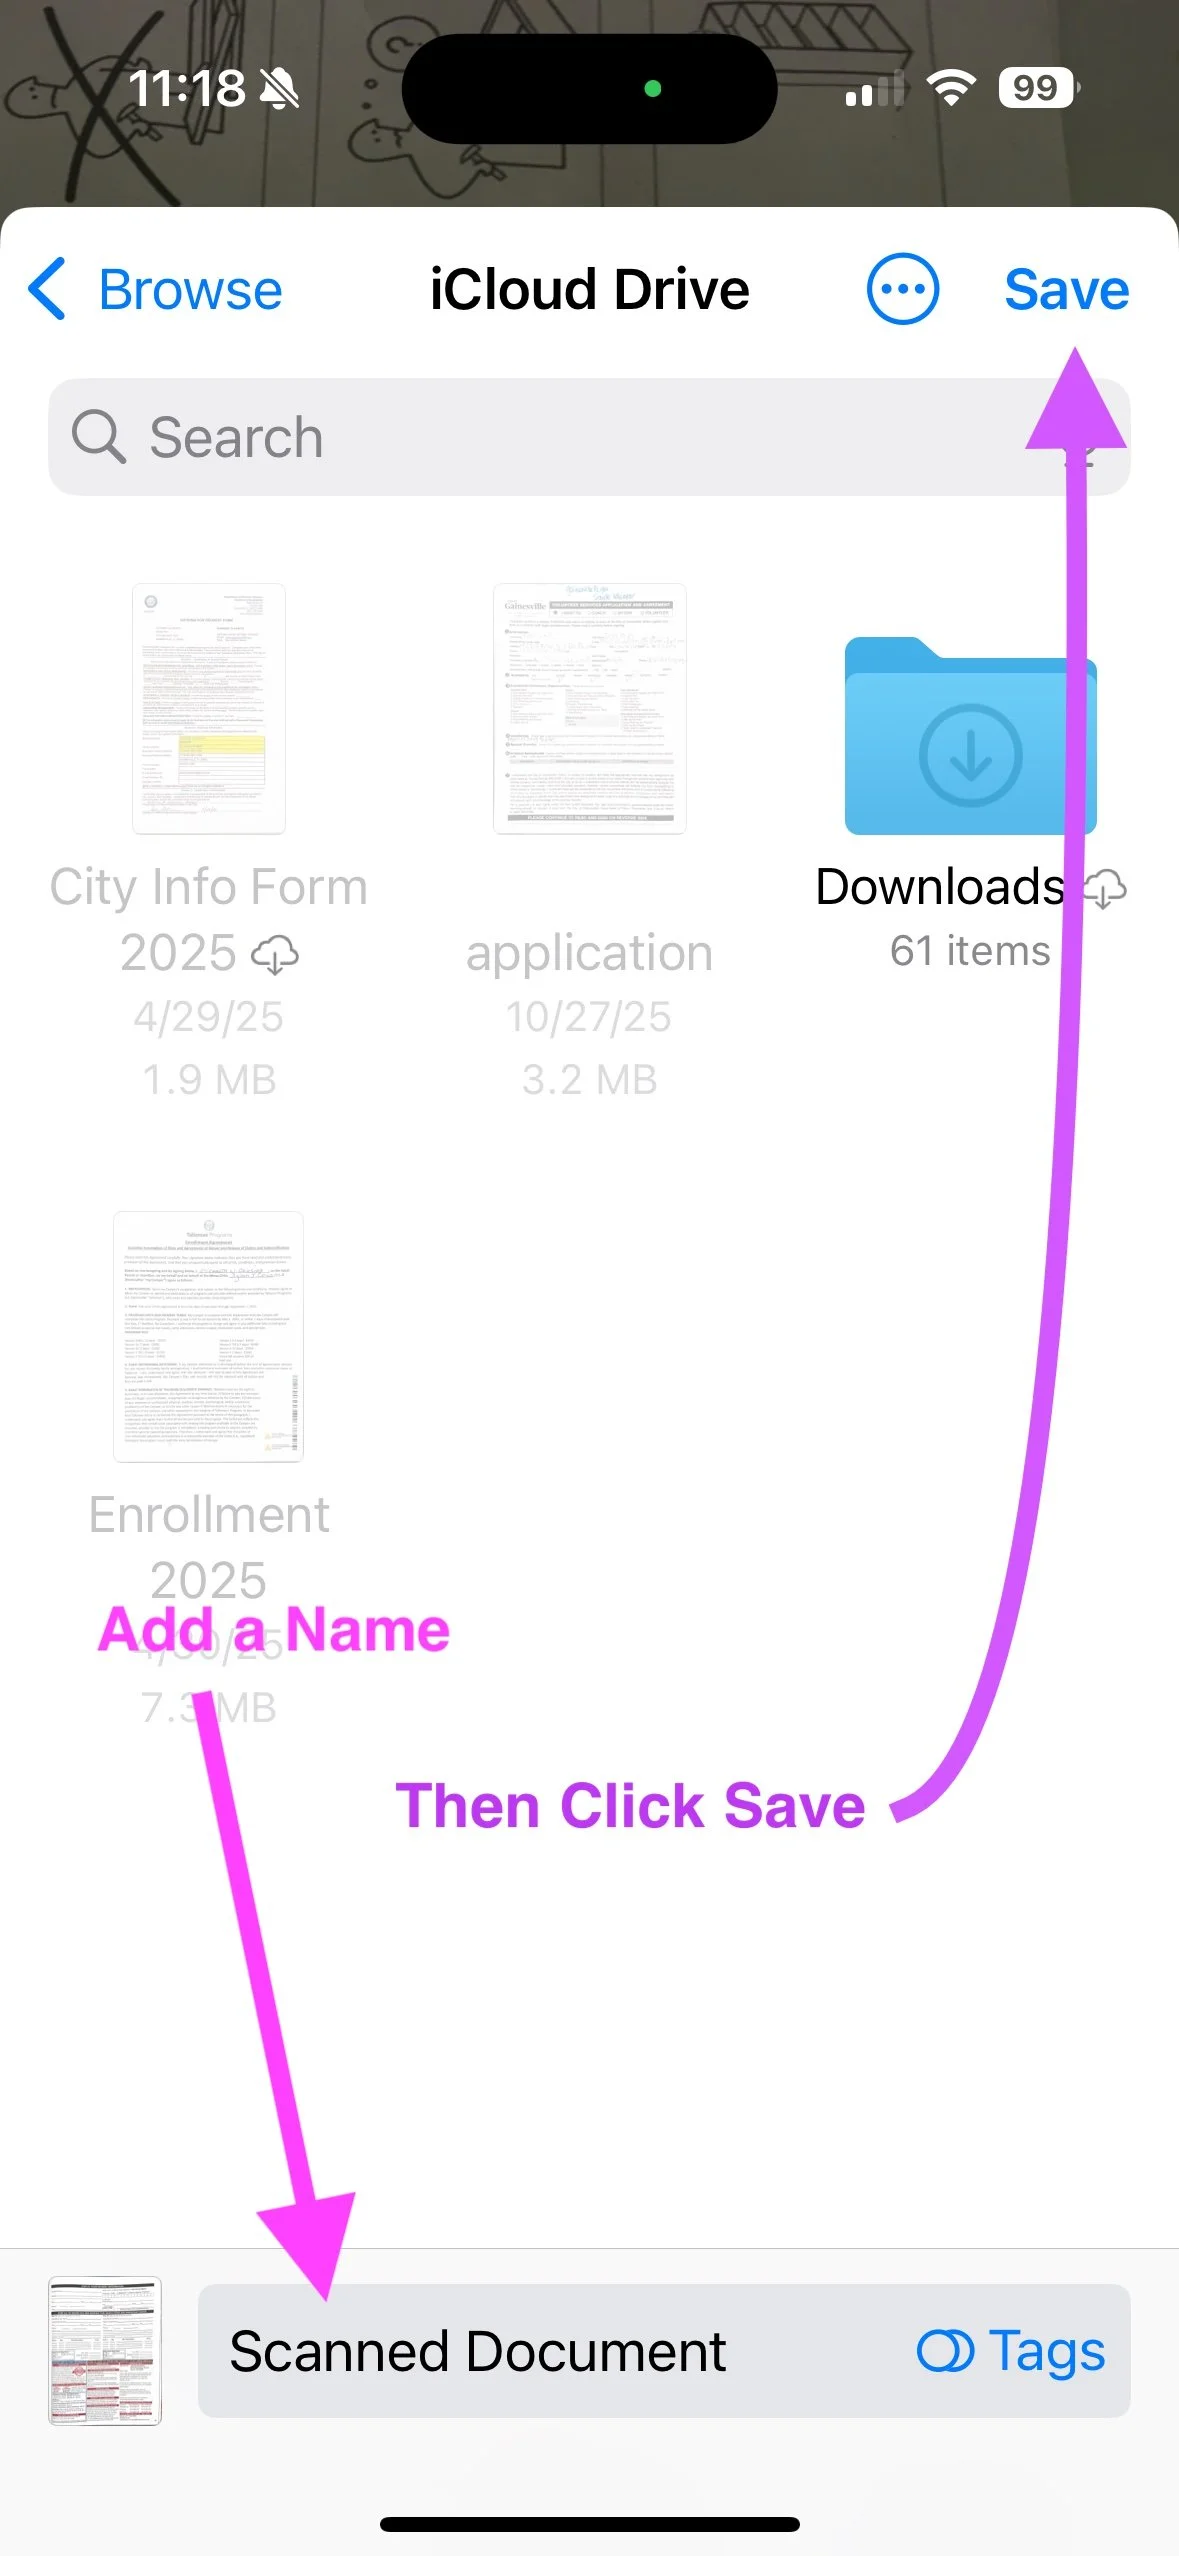
5) Select where you’re going to save it (on the cloud or on your phone). Either is fine. Give the file a name at the bottom and click save. And your scan is complete.
Note, to scan multiple pages, just keep turning the page and holding the phone and it will create a stack of thumbnails and combine them into one document. The rest of the steps are the same.
Sending
To send the document, click the Recents button at the bottom left of the screen, and select your file. Once open, click the Share icon in the bottom left (the square with an arrow coming out of it). And send via text, email, etc.